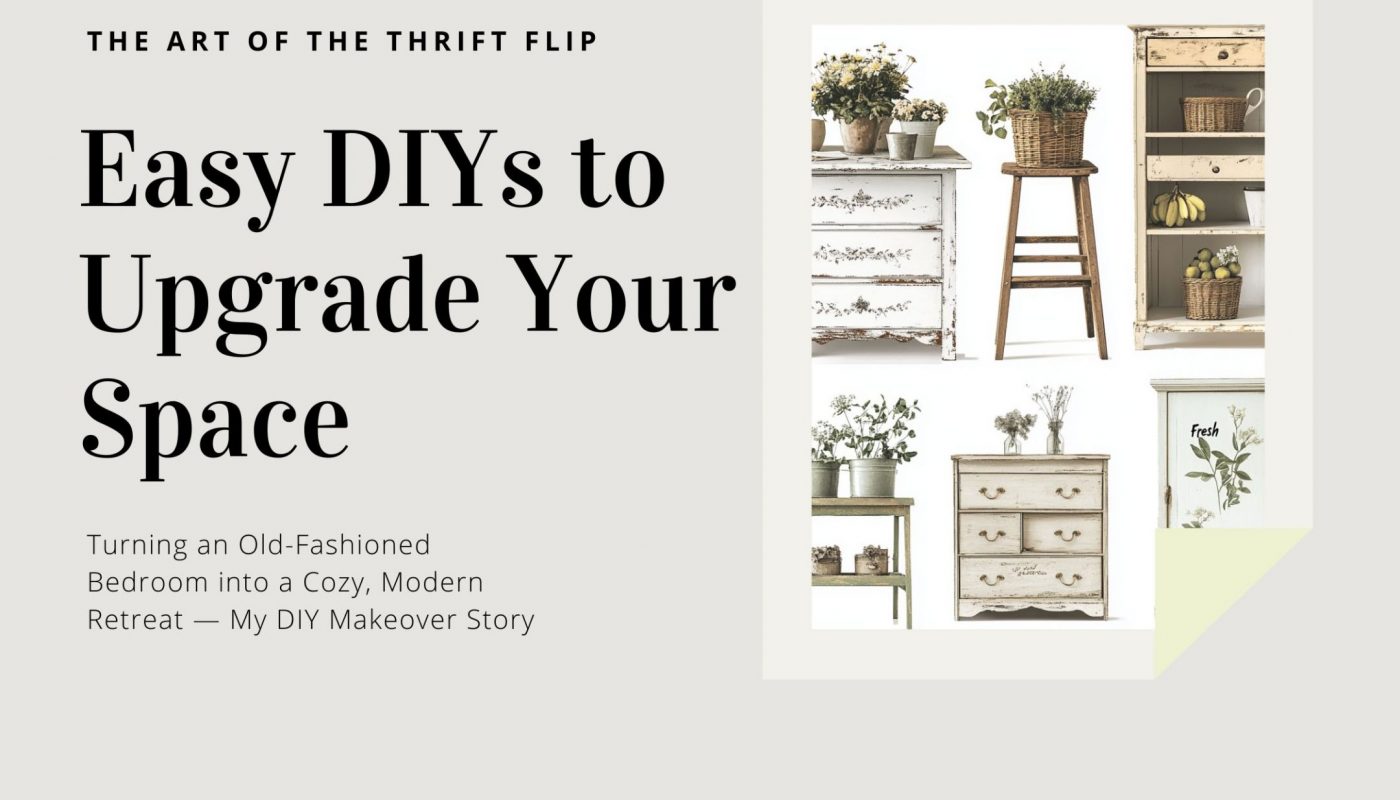
I’ve shared my favorite Brockis and why I love secondhand shopping — from lucky finds to defining my style.
Now, I’m excited to show you how I’ve actually used those pieces in our home. About 50–60% of it is thrifted, vintage, or secondhand — the rest is a mix of practical buys and personal favorites.
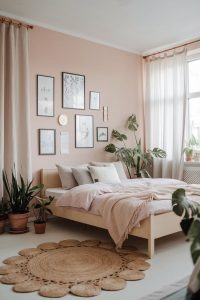
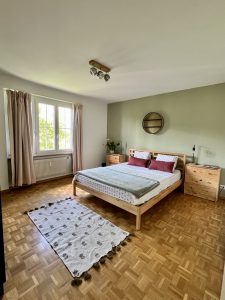
Let’s kick things off with one of my favorite spots: the master bedroom. Here’s how it all came together.
🎥 Watch the makeover here: Instagram Reel
My Mood Board & The Vibe I Was Going For
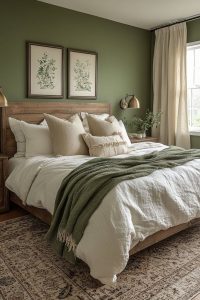
One of the best things about our master bedroom is the big window — it lets in so much light and frames this beautiful view of a huge tree with the bluest skies behind it. No buildings in the way, just pure calm. That view became my starting point. I knew I wanted to create a space that felt grounded but still cozy and a little bold.
So, I began mood boarding. I pinned like a maniac — different textures, color palettes, bedroom layouts, and a lot of wall paint inspo. I kept coming back to the idea of painting one feature wall in a slightly darker tone. Something moody, but still warm enough to work with the natural light and the green from outside. Think deep olives, muted navy, charcoal with warm undertones — those were my top contenders.
Here are a few of the paint colors and inspo shots that really spoke to me…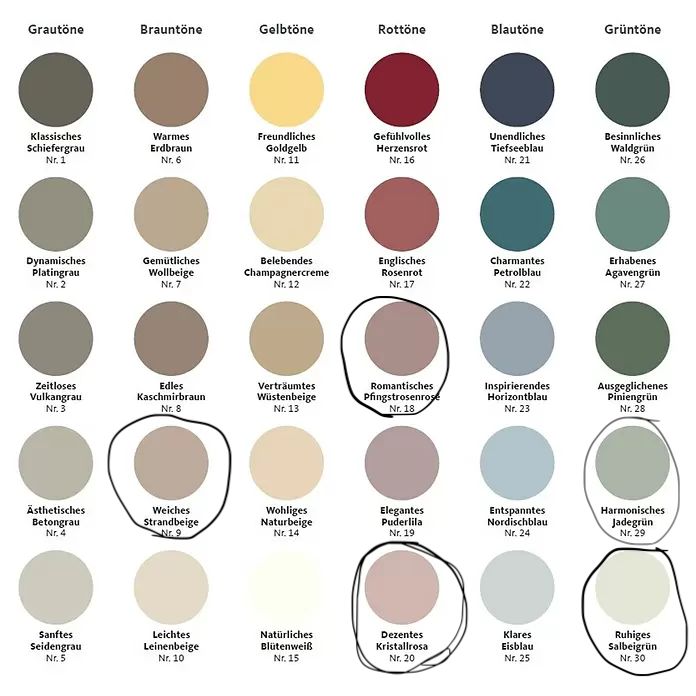

Tools & Supplies I Used
I’m not a professional, so trust me when I say: this list is beginner-friendly. I wanted tools that were easy to use, didn’t cost a fortune, and wouldn’t take up an entire afternoon to figure out. Here’s what I used for the wall flip and a few other mini upgrades in the room:
 Masking tape – My best friend for clean lines and protecting the ceiling and edges.
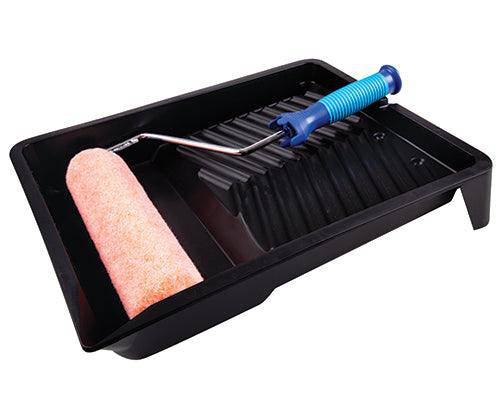 Paint roller & tray – A medium-sized roller. I used a smaller brush for corners.
 Drop cloth or old bedsheet – Because I always manage to spill something.
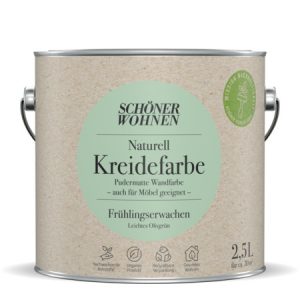 Paint (obviously) – I went for a muted green.
 Screwdriver & measuring tape – For adjusting shelves and hanging things evenly.
 Sandpaper – Light sanding before painting helps a lot, especially on older walls.
 Paint thinner – Just in case things got messy or I needed to clean brushes.
Pulling It All Together — From Mood Board to Real Life
After the wall was done, it was time to start putting the actual room together. My goal? A space that felt cozy, clean, a little modern, and pulled together with subtle black accents.
🎥 Watch the makeover here: Instagram Reel
 ➡️➡️
➡️➡️ 
-
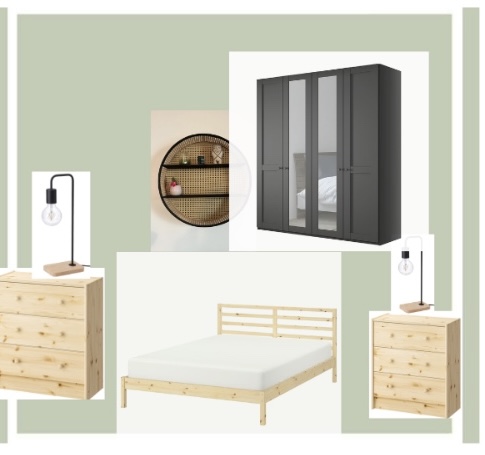
Mood board = my guide.
I actually stuck to it exactly, and honestly, it made the whole process smoother. I knew what I wanted from the start — modern, a bit industrial, with warm, grounding elements — and that kept me from going off track or impulse-buying things I didn’t need. -
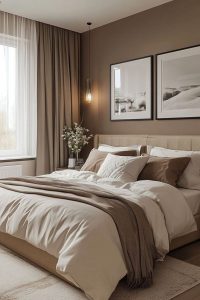
The bed + bedding:
I ordered a simple bed frame and bedding set from IKEA — neutral tones, minimalist design, and super easy to match with other things. - Adding black accents:
To bring in that industrial vibe, I started hunting for black pieces. That’s when I found a solid black wood cupboard on Ricardo — and it looked exactly like the one on my mood board. It was one of those rare moments where online shopping actually matched expectations. Total win.
I have to say — this wasn’t exactly a small DIY. But surprisingly, it didn’t feel overwhelming. I wasn’t stressed (well, not too much), and the key was taking it one step at a time and letting the mood board guide me.
The only thing I highly recommend? Be patient with the paint.
Seriously. When it’s wet, it might look way too dark or patchy, and you’ll probably panic for a second. Don’t. Let it dry completely before you judge — it’ll settle in and look way better than you think.
Also, a little shoutout to Ricardo — my ultimate budget-saver. I scored an amazing solid wood wardrobe and a few accent pieces that really made the room feel complete.
And if you liked this post, keep an eye out for my next one — I’ll be sharing how I styled our entire living room using a mix of Ricardo and Tutti finds. You’re gonna love it.
✨ Follow my full journey here: blog.hslu.ch/majorobm
Image sources: Stock photos and publicly available images from Google, used for inspiration purposes only.


So so informative and useful. I’m switching an apartment in the beginning of May and my head has been all around. Your blog is definitely a huge help. Thanks!
I am excited for your new apartment :)) You should definitely hit up some thrift stores near by :)))
I really enjoyed watching the Instagram Reel and to see the transformation from the moodboard to real life! I am definitely interested in seeing more such tutorials:)
Thank you :)))
Absolutely loved this makeover story! 🌿✨ This post is such a gem for anyone looking to transform their space on a budget. I really appreciate how Waghanta broke down the entire process — from the initial mood board to the final touches — in a way that’s both inspiring and totally doable. The focus on secondhand finds and sustainable choices is refreshing, and it’s amazing how intentional each piece feels, especially the bold wall color and those sleek black accents. The tips were super beginner-friendly, and the honesty about things like paint panic made it so relatable (we’ve all been there!). The best part? It didn’t feel like a glossy, unattainable Pinterest room — it felt warm, lived-in, and uniquely personal. Can’t wait to see how the living room turned out!
Thank you 🙂
This is so detailed, I’m absolutely going to keep this post open on my laptop for my next DIY project! <3
Excited for your DIY project :)))
love your bedroom makeover reel!✨ Can’t wait to follow along your journey and see more transformations!
Thank you 🙂
Wow! This is so cool! A special shoutout to Ricardo for the epic budget finds — coz that solid wood wardrobe sounds like such a score. I can’t wait to see how you pulled the whole living room together with Ricardo and Tutti pieces. Definitely keeping an eye out for the next post!
Thank you 🙂
Loved this makeover! The mood board really paid off; cozy, stylish, and so inspiring!!
Oh yes it did :))