
This is the eighth and last post of my series Let’s talk about Microsoft 365!
For the grand finale of my blog, I’m going back to the basics and sharing some of my favourite features and best hacks when working with any of the basic Microsoft Office programs. All of the features mentioned below work in and for Microsoft Word, PowerPoint, and Excel. Are you ready to get your mind blown?
1. AutoSave & AutoRecover
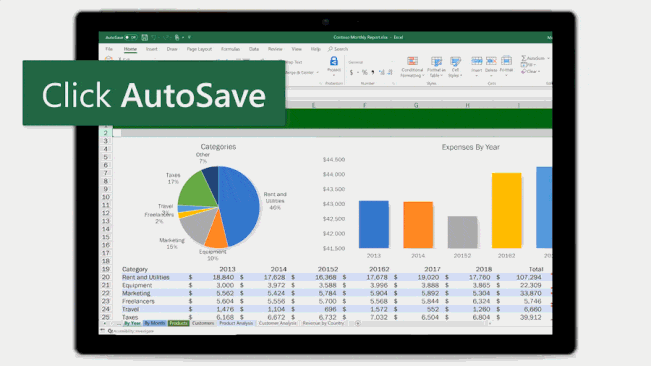
Have you ever lost a file because of a software crash or because you closed it too quickly? One way to prevent losing all the work you did since you last saved it, is to activate the function AutoSave. This feature is available in the newest version of Office 365 programs and can be activated for files that you save to OneDrive or SharePoint.
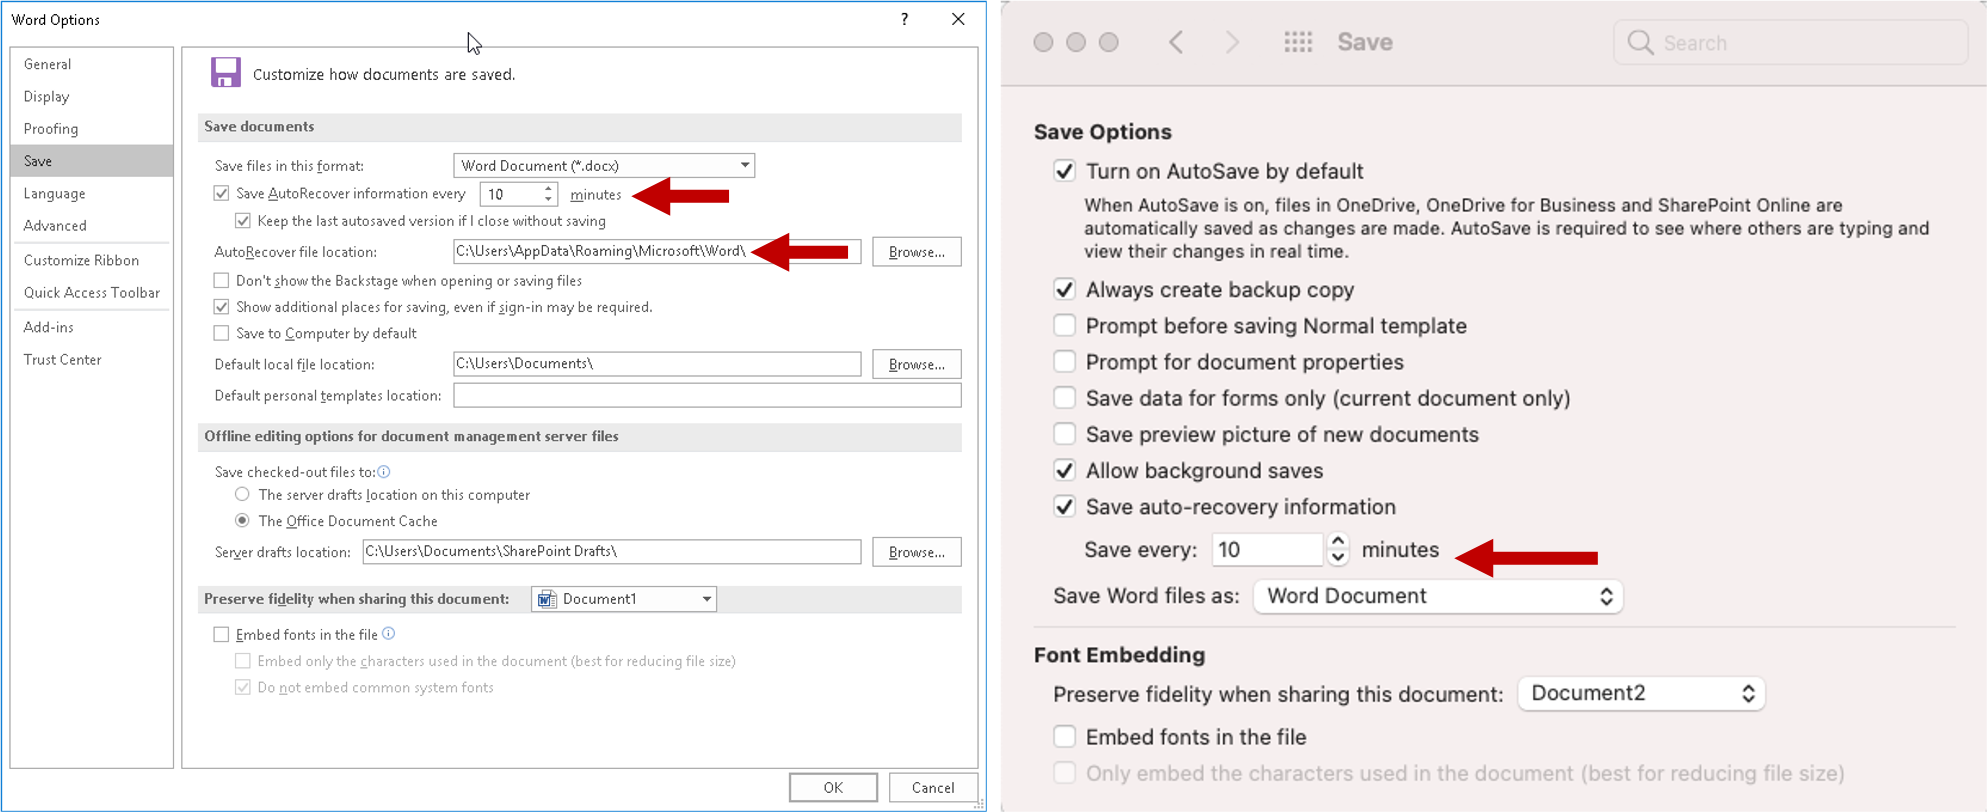
If you don’t have access to the newest version of Office365 there is another way to recover potentially lost work. The function AutoRecover can be found when you open an Office app:
- Windows: File > Options > Save.
- Mac: Word/PowerPoint/Excel > Preferences > Save
The Office AutoRecover feature is activated by default and saves your work every 10 minutes to a dedicated folder. You can adjust the settings to have the file being saved more frequently than that and you can also choose another recovery folder for more convenient access.
Please note that neither AutoSave nor AutoRecover should replace your manual and regular saving of the file!
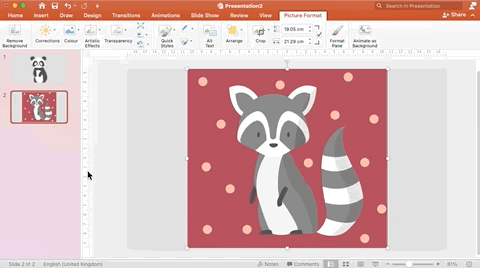
2. Remove Picture Background
In one of my last blog posts, I showed you How to create a video with nothing but PowerPoint. In that post, I mentioned that I love using PowerPoint as a layouting and picture formatting tool and the “remove background” function is one of the main reasons why. There are two ways of removing a picture’s background and both can be done in any of the Office 365 programs.
Option 1:
If you have a picture with a solid background that you would like to make transparent you can simply do so in the tab Picture Format > Colour > Set Transparent Colour and then you click on the background.
Option 2:
With the second option, you have a bit more control over which parts of a picture should be kept and removed. This also works best with solid-coloured backgrounds which contrast with the actual image, but with a bit of patience, you can also remove more colourful backgrounds.
3. Compress Pictures
When adding pictures to your file, it can quickly happen that its size gets out of hand. This usually makes the file slower and the program less responsive. If you need to send the file as an email attachment its size may prevent you from doing so. Of course, you can always share it via One Drive but even there your storage capacity can run out eventually.
A quick and simple way to help your files lose some weight is by compressing the images within. You can select to delete any areas that you have cropped, and you can also choose a lower resolution for the images. You can decide whether you want to compress just the one selected picture or all that are in your file.
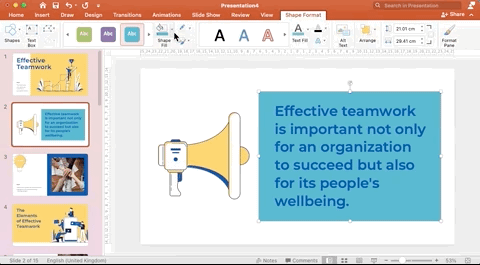
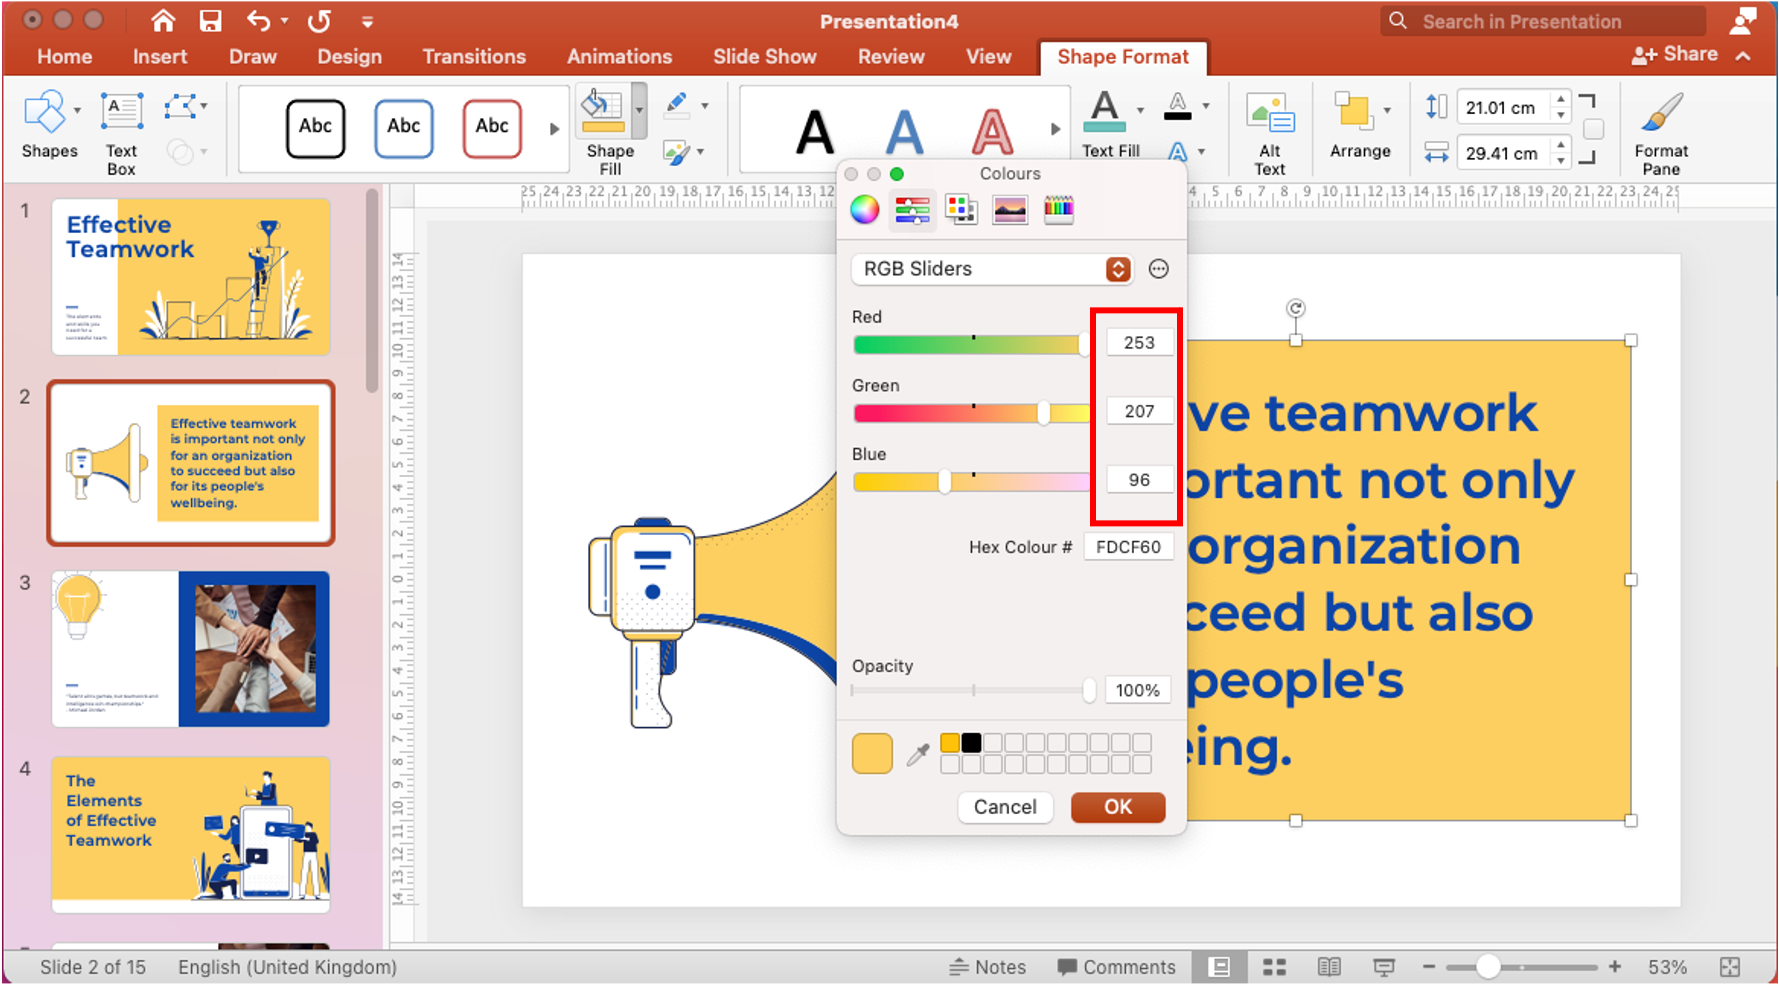
4. Copy Colours & Find RGB Code
If you have a specific colour in an image that you would like to use in your file as font, shape, or background colour, you simply need to mark your item, go to its colour settings, select more colours, and then click the eyedrop symbol. You will get a magnified circle to select the colour from anywhere on your screen.
To find out the RGB code of the colour you just need to select the coloured item and then you can check the numbers next to the RBG sliders.
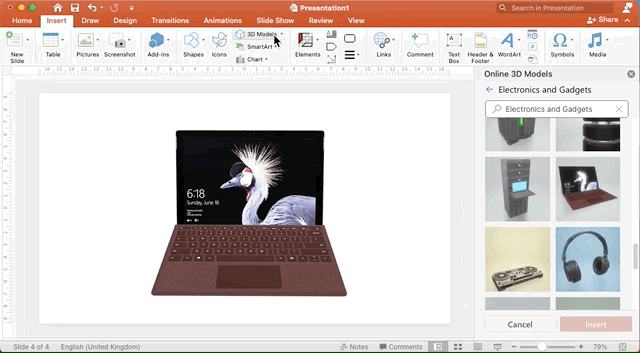
5. Add Built-in Icons or 3D Models
Icons are a great way to visualize messages within your slides or documents. They can be effective when they are used to improve visual interest and grab the user’s attention for example in an infographic or to show milestones in a timeline. Did you know that there are hundreds of icons available within the Office 365 programs? Simply click on the icons button under the Insert tab and you will find icons from many different categories, which can also be recoloured to fit your colour scheme.
In addition to the flat icons, you also have the option to add 3D models. These I find especially cool to use within PowerPoint as you can animate them and use them for example in your next animated PowerPoint video.
6. Change Design Template Colour Palette
I am a pretty big fan of using existing templates or designs for my files. If you find a design you like but it does not quite match your colour scheme, you can simply adjust the theme colours of the design. This newly selected palette will be visible whenever you open any of the colouring options such as the font colour.
I hope you enjoyed this last blog post from my series Let’s Talk about Microsoft 365 and learned a few new tricks. If you did, leave a comment below and let me know!
Thank you for joining me on this journey!
Check out the other posts of my series “Let’s Talk about Microsoft 365″
💻 5 Must-Have Apps for Microsoft Teams
💻 Microsoft Word: The Simple Formatting Guide
💻 Best Microsoft Apps For Working On-The-Go
💻 Why you will love Microsoft OneDrive
💻 How to Animate Videos with PowerPoint
💻 7 Outlook Tips to Boost Your Productivity
💻 A quick-start guide to Microsoft OneNote