We are slowly approaching the final posts. Let’s make the most of this time together:)
What makes a photo stand out? Often, it’s not the subject — but how you choose to show it.
Perspective is one of the most powerful tools in photography. It can turn a familiar scene into something surprising, emotional, or artistic. By simply changing the angle or framing, you can add drama, intimacy, or even humour to your images.
Here’s how to experiment with perspective and framing to make your shots more dynamic:
Change Your Point of View
Get low, get high, move sideways—just don’t always shoot at eye level. Try:
-
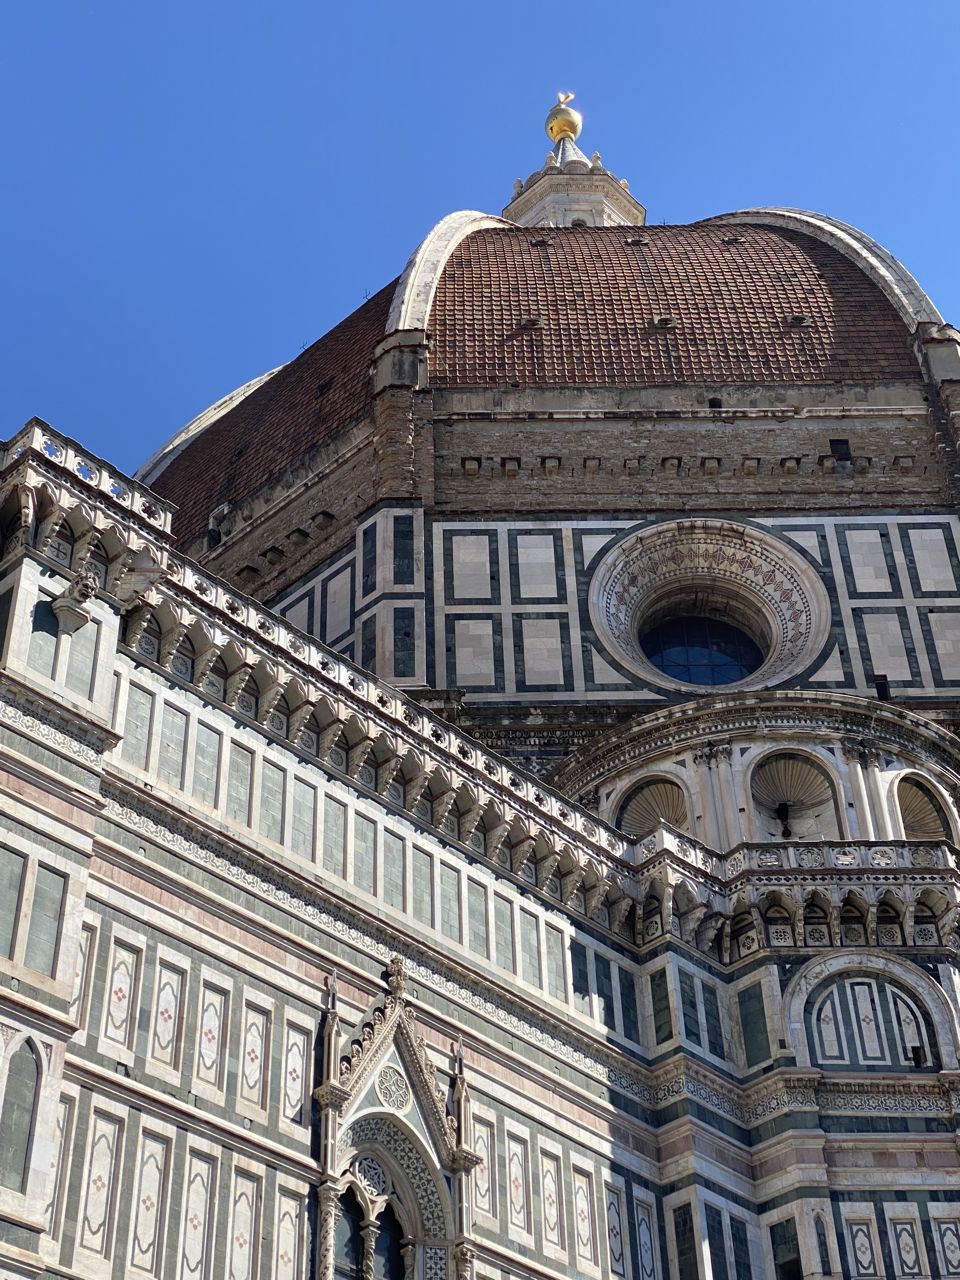
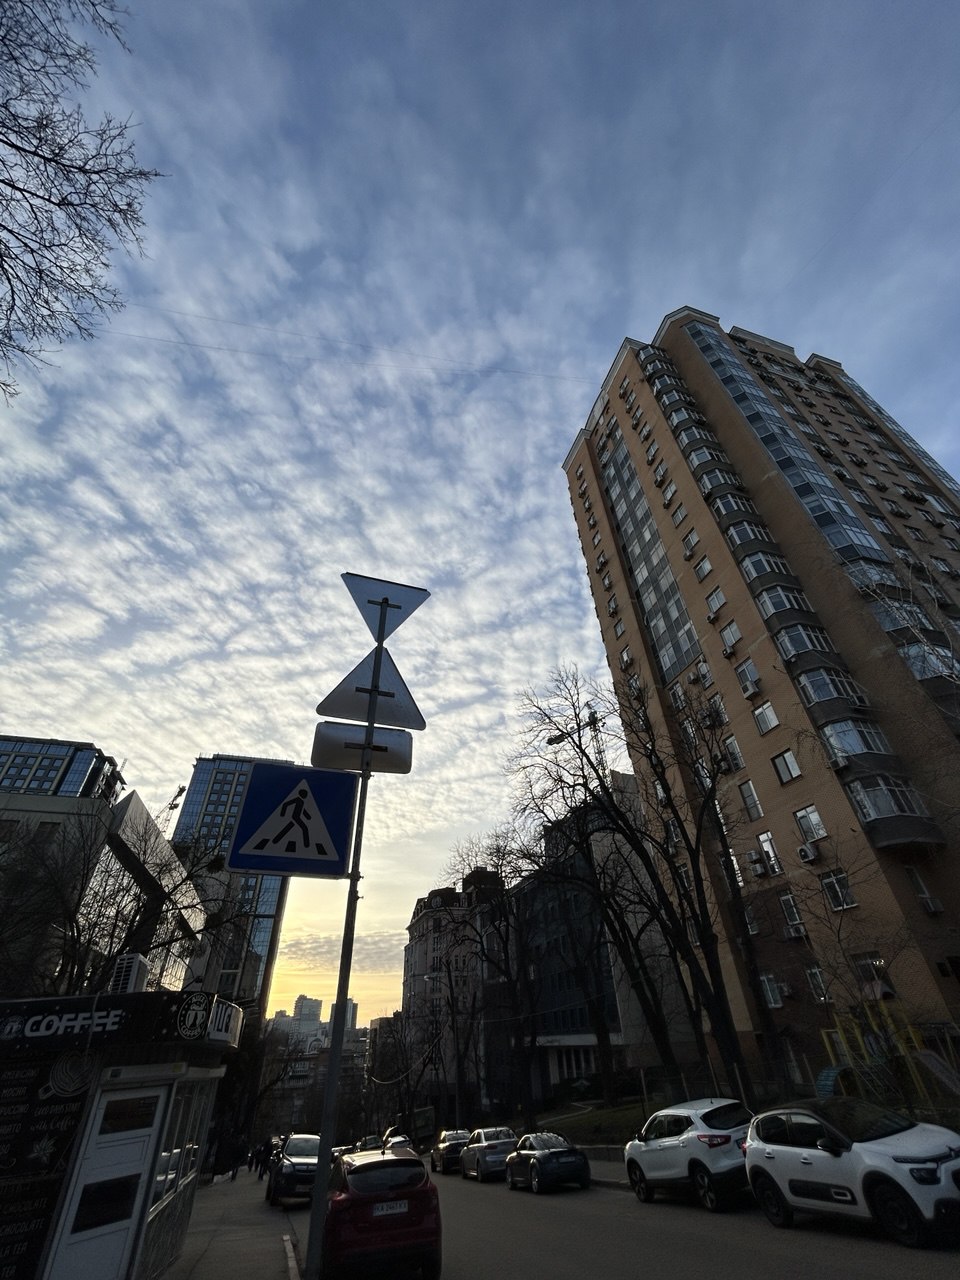
Low-angle view, also known as “worm’s-eye view”, to make subjects look grand or dominant. My example is not the perfect representation of the technique, but it may give you the undestanding:)
-
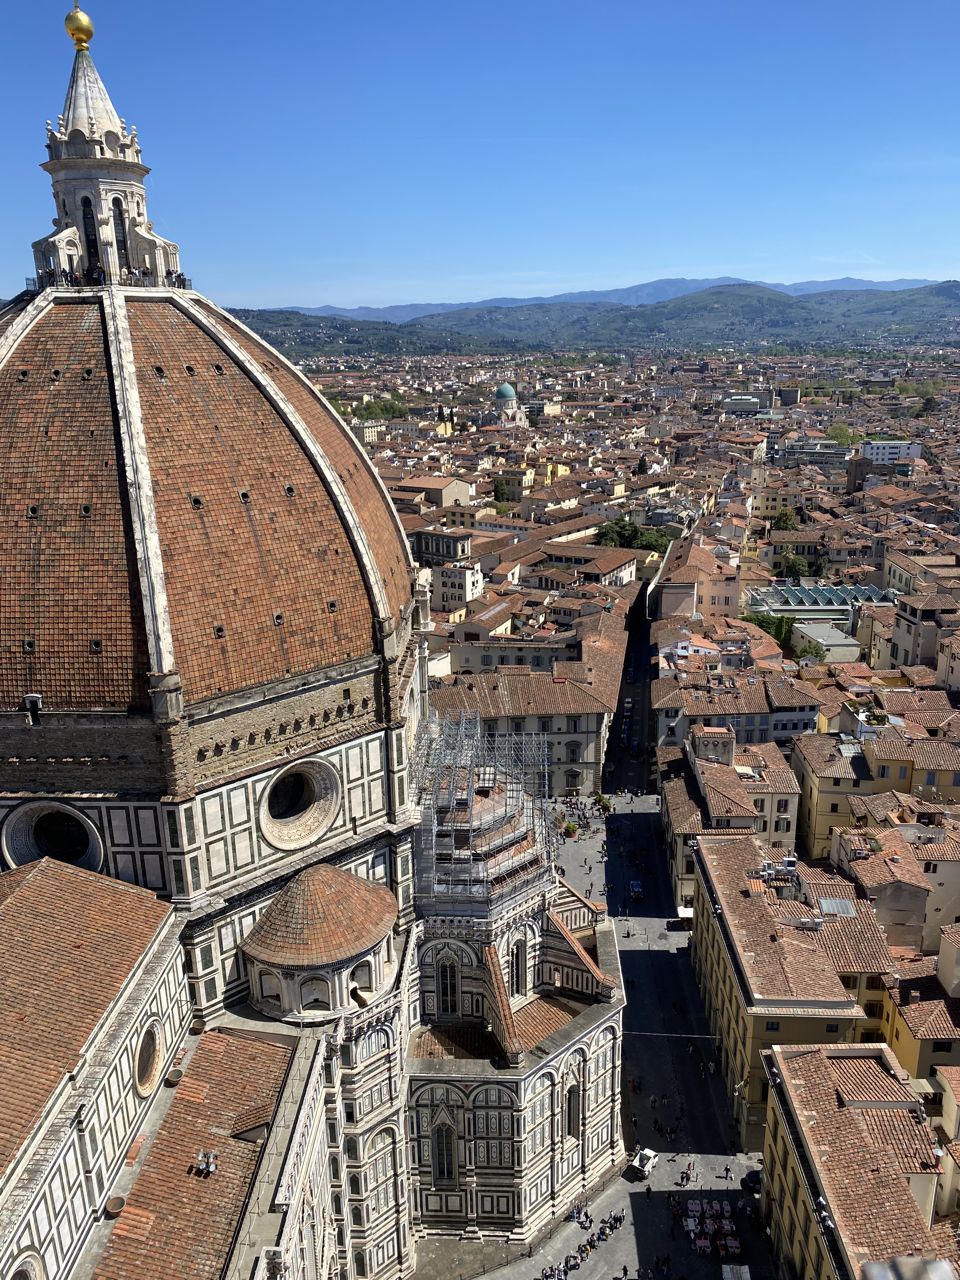
Panoramic view, also called “bird’s-eye view” is used for photographing a subject from above, as by a bird in flight. Same part of the cathedral is visible but from high above:)
-
Tilted angles (also called Dutch angles) to add energy and tension
Even subtle shifts can create fresh and unexpected results.
Lens Choices
Your iPhone offers multiple lens options, and each one tells a different story:
-
0.5x Ultra-Wide Lens
-
-
Expands your field of view.
-
Ideal for dramatic architecture, vast landscapes, or tight spaces.
-
Creates dynamic, slightly distorted perspectives that add energy.
-
-
1x Standard Lens
-
-
Most natural and true-to-eye.
-
Great for portraits, street scenes, or everyday moments.
-
Offers balanced framing and depth.
-
Orientation Matters
The way you hold your phone — vertically or horizontally — can significantly change how your photo feels and what it communicates.
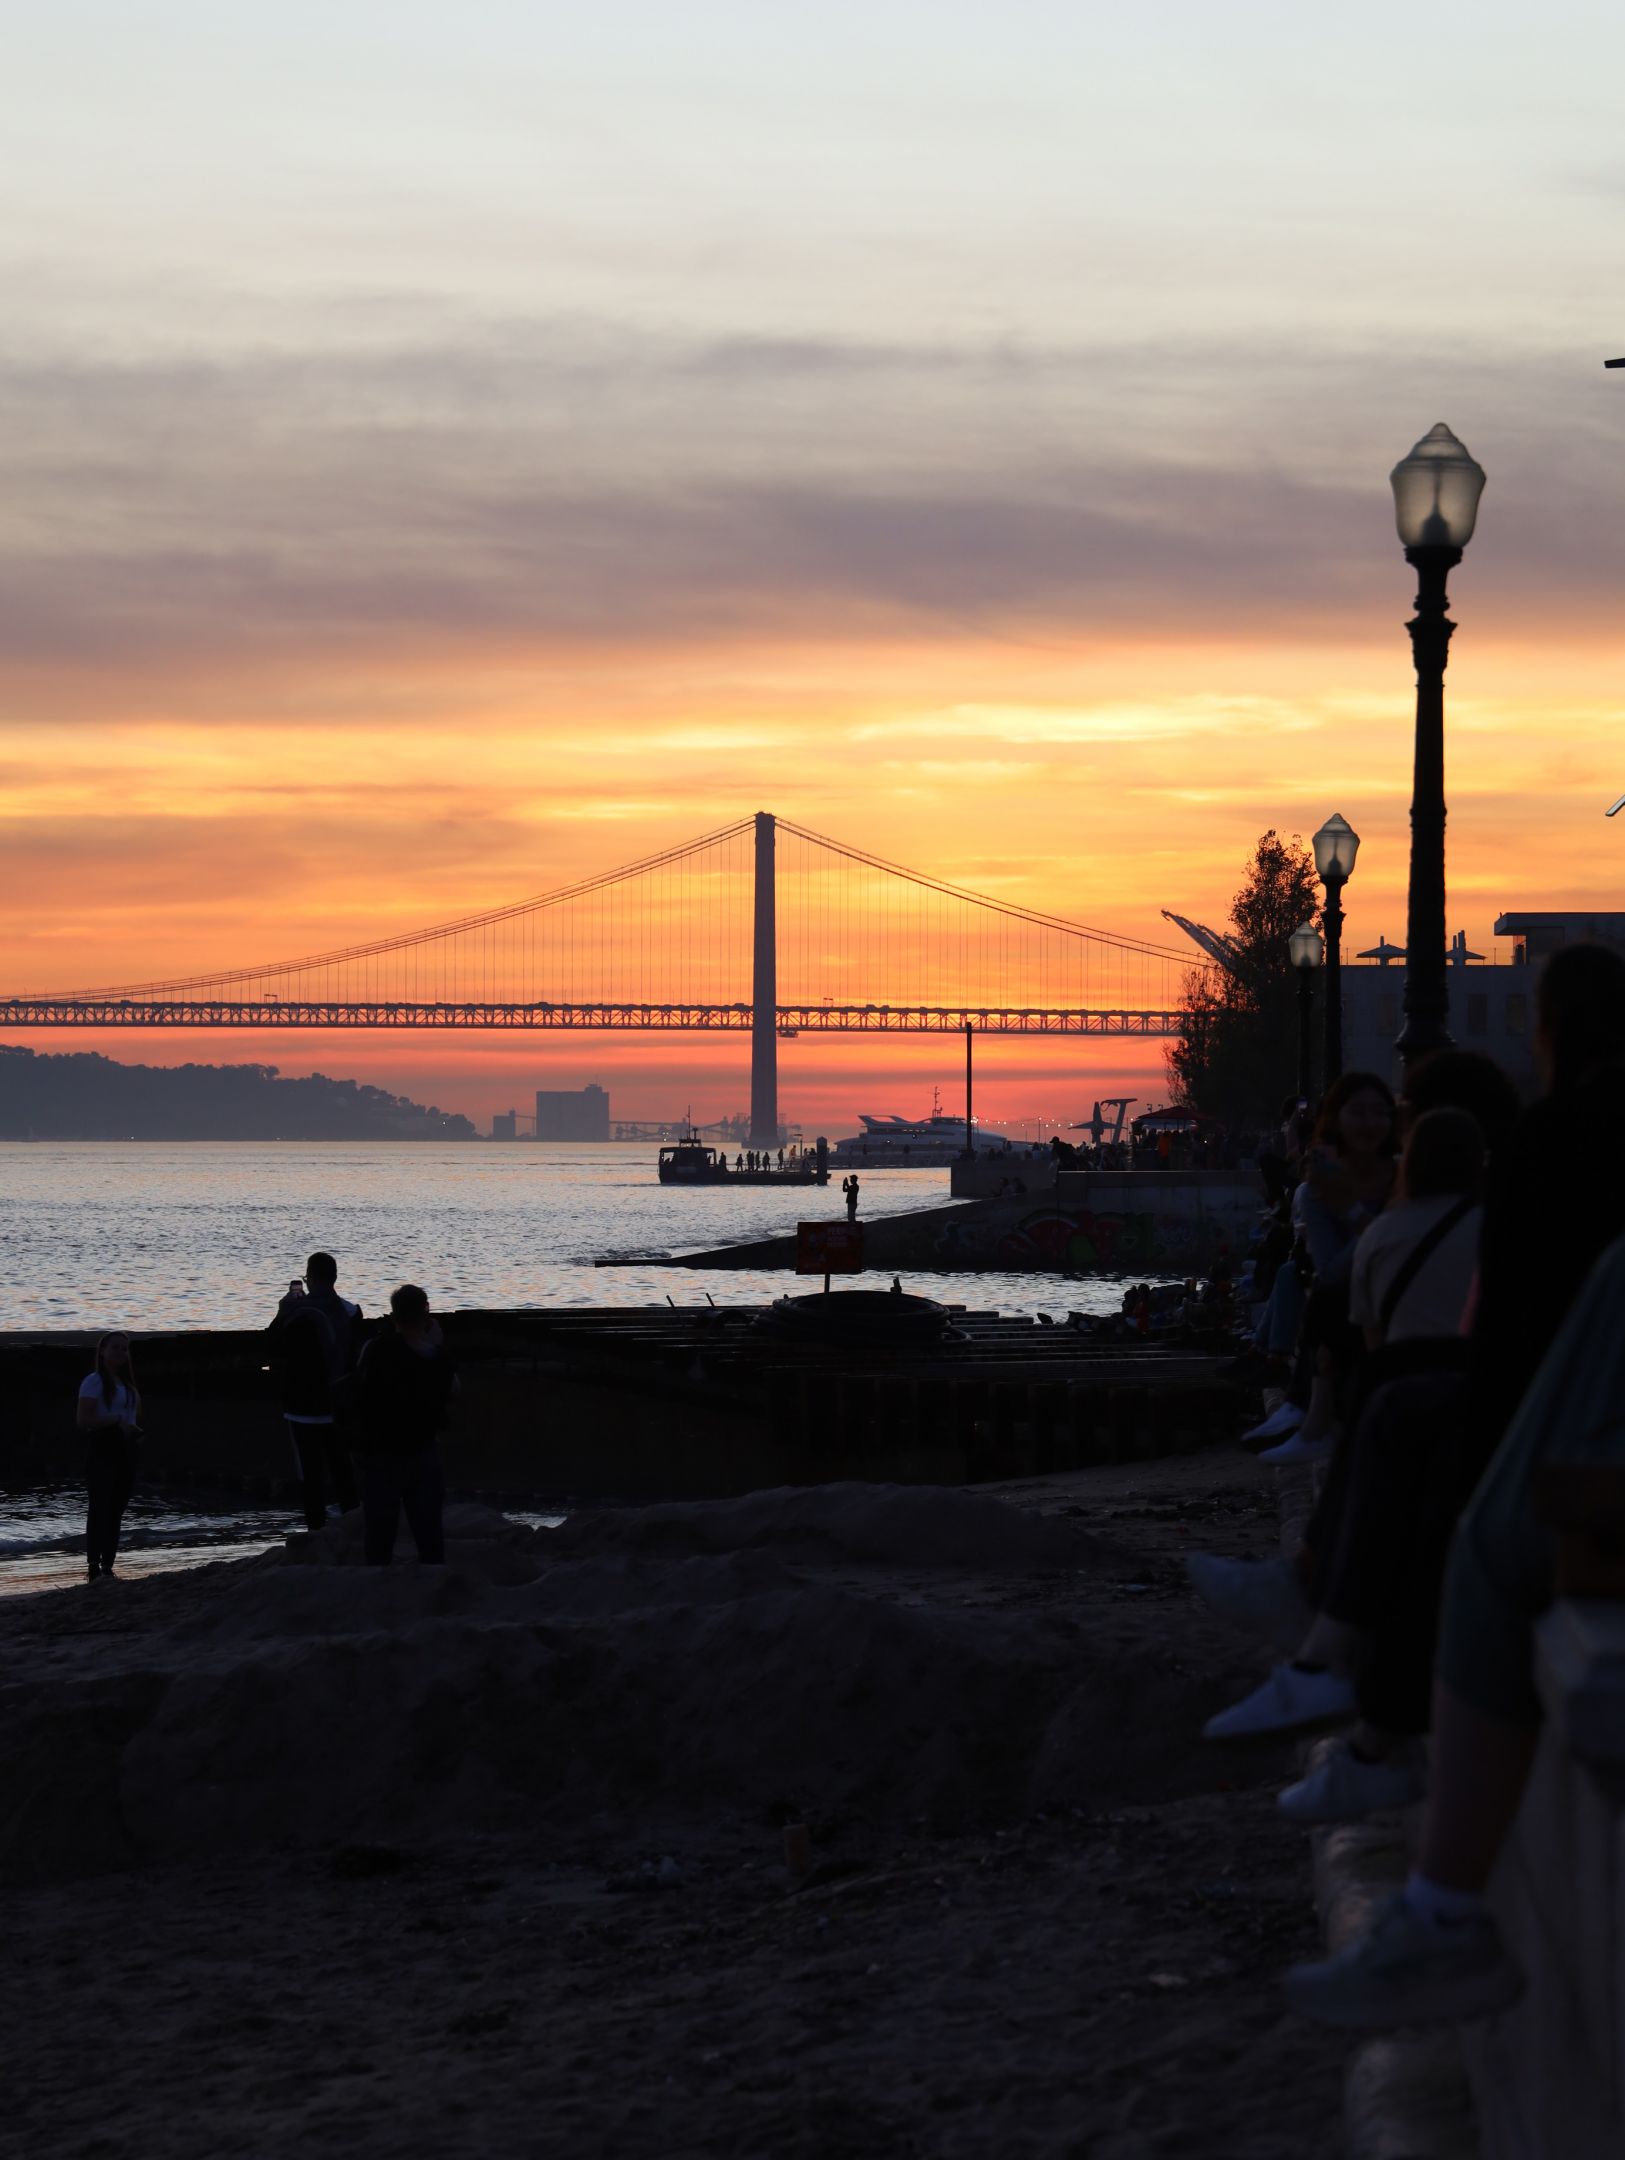
Vertical (portrait orientation)
-
-
Perfect for single subjects, especially people or tall structures like trees or buildings.
-
Creates an intimate and focused composition, often placing the viewer right in front of the subject.
-
Perks: Naturally aligns with how we use phones, works great with portrait mode for blurred backgrounds and sharp focus.
- At the same time may crop some objects and create a feeling of space deficiency!
-
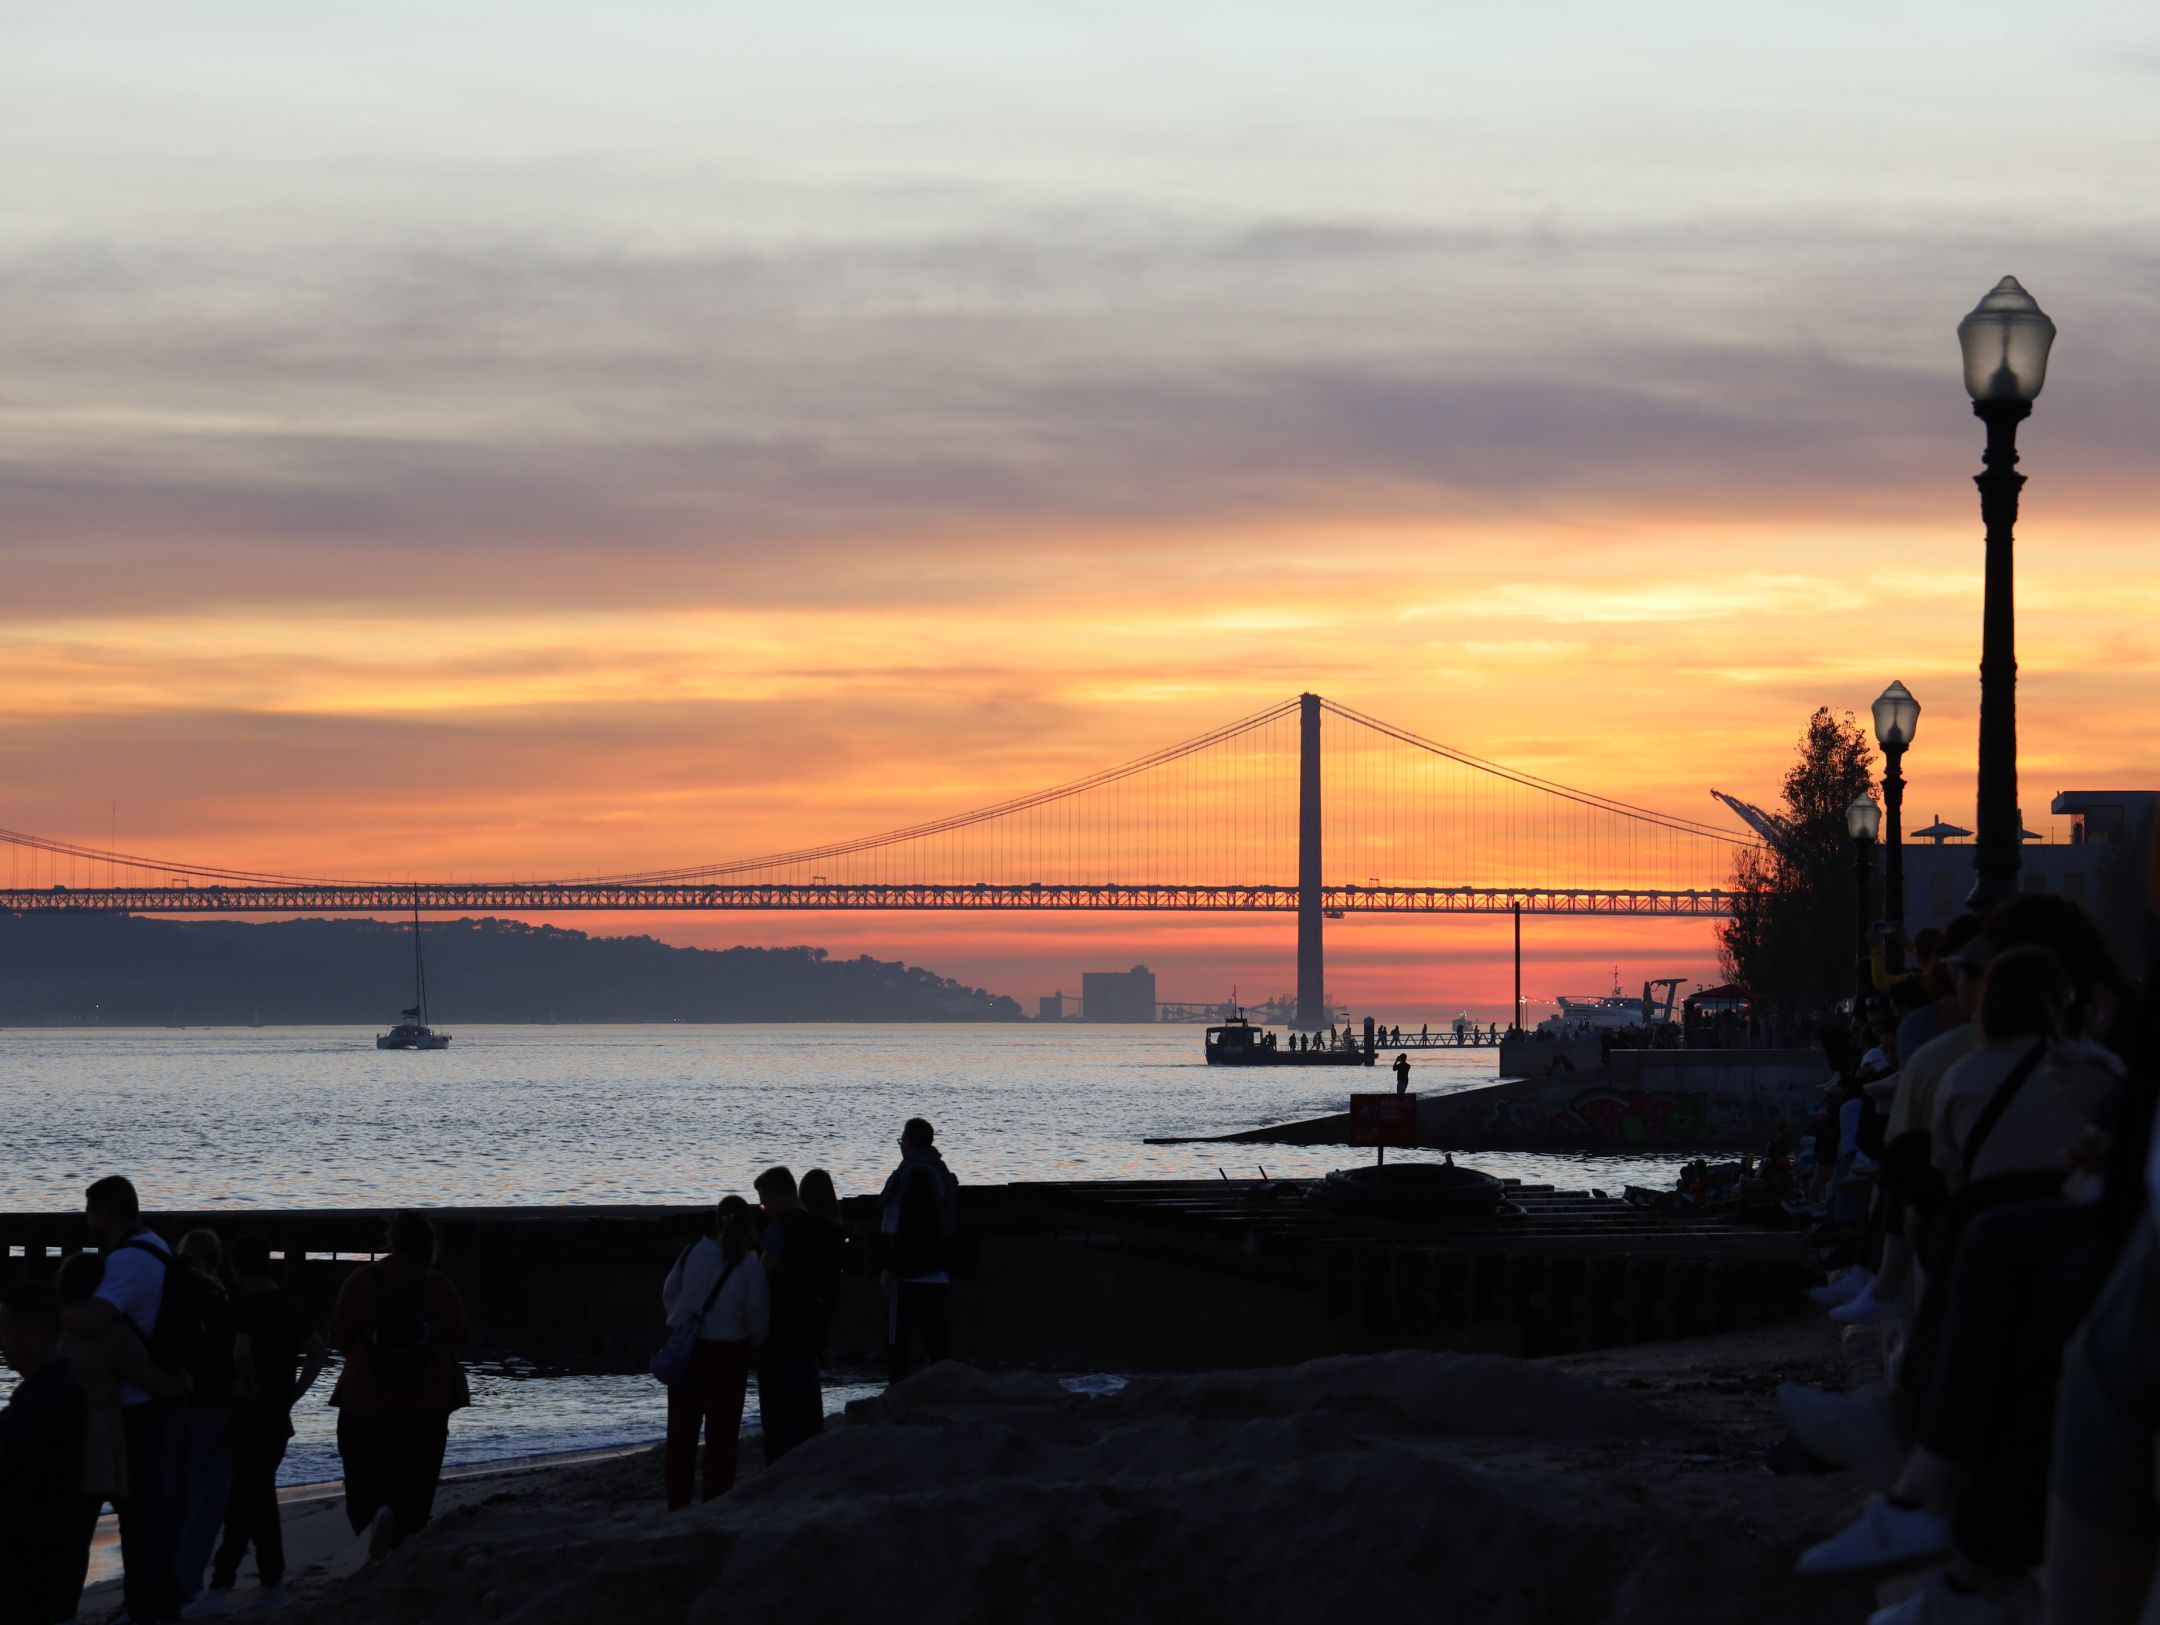
Horizontal (landscape orientation)
-
-
Best for wider scenes, such as landscapes, group shots, street views, or architectural lines.
-
Gives a sense of space and storytelling, drawing the eye across the frame.
-
Often used in videos, slideshows, and websites due to its cinematic feel.
-
Perks: Allows you to capture more context and environmental detail.
-
Changing your point of view, literally, can turn an average photo into something eye-catching and full of personality. With just a shift in angle, lens, or orientation, you can highlight new dimensions in your shots and take your visual storytelling further.
If you missed my previous posts, be sure to check them out below and leave a comment in case you like it ⬇️:
2️⃣ The Magic of Light: How to play with shadows, reflections, and golden hour.
5️⃣ Street Photography: Tips on capturing authentic moments and architecture in city life.