Content
- Midjourney can be a waste of time
- Specify the creative style
- Compose your image using photographic wording
- Define the artist who made the creation
- Include an image source
- Remix the images
- Memorable results with your first prompt?
Midjourney can be a waste of time
Have you ever tried to create images with text-to-image ai tools such as Midjourney v5, but ended up with disappointing results? Maybe you’ve spent hours sifting through countless Midjourney tutorials, or trying out every parameter as described in the official Midjourney documentation, but the outcome is nothing more than decent. More realistically, some of the images you obtained look nice, but are nothing impressive compared to the viral content spreading everywhere online. Just recently Midjourney released version 5 of its language model becoming incredibly advanced. The more the model will be optimised, the easier will be to obtain stunning results. Nevertheless, the tips I listed here will probably remain relevant for quite a little while. And as the first and most important recommendation, check out what the other users are creating on the Midjourney server every day. They provided me with good material to start familiarizing myself with the tool. Quick disclaimer: if you never wrote one single prompt so far, I suggest you a 2-minute Midjourney introduction video linked at the end of this article.
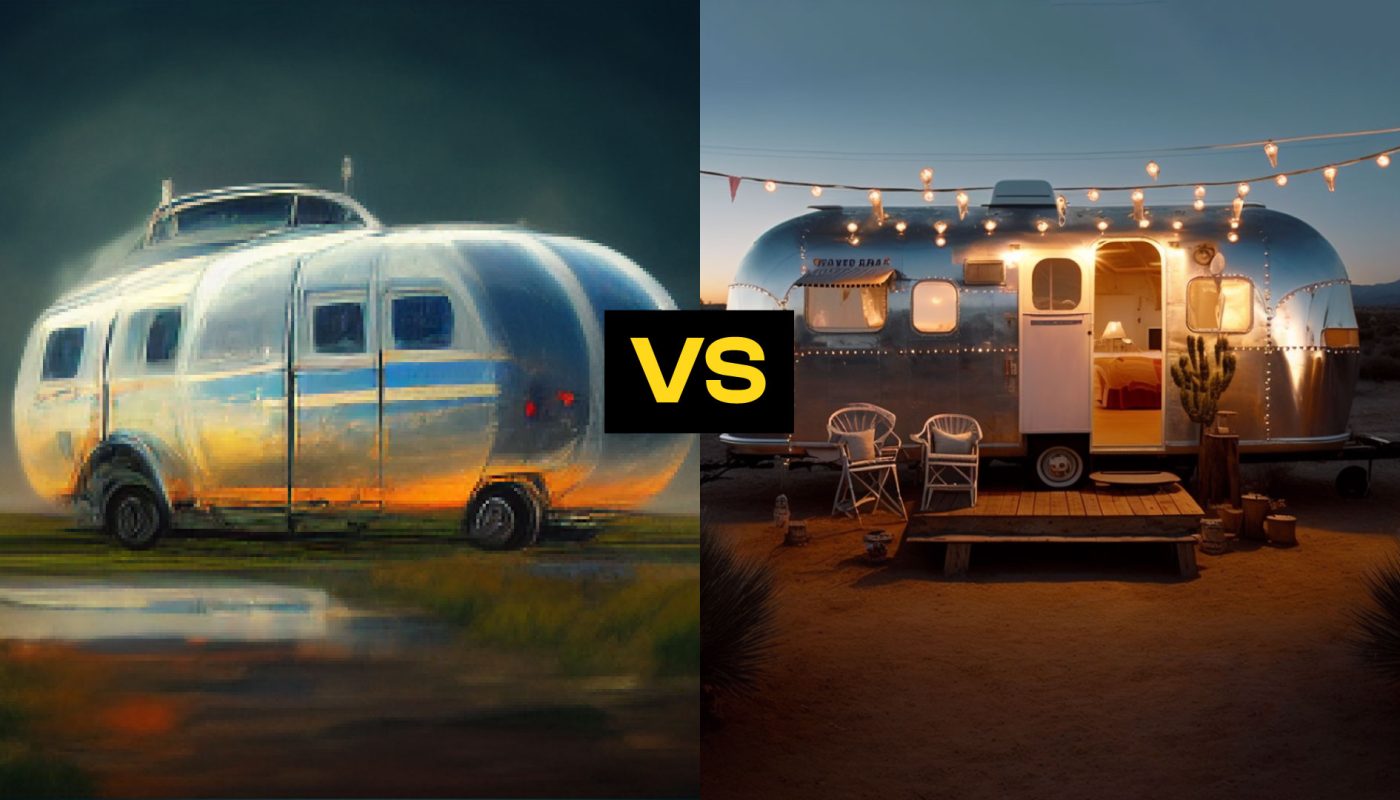
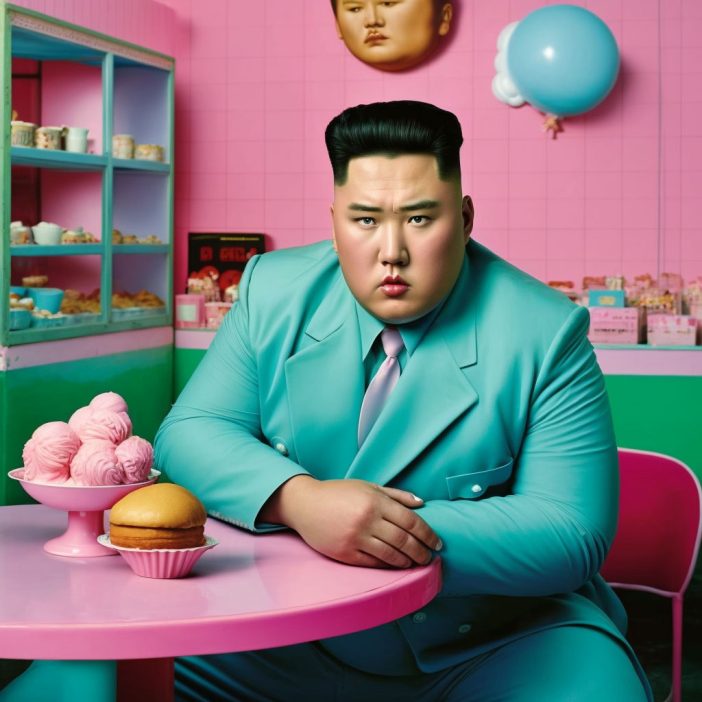
1. Specify the creative style
Whether you’re going for an artistic style like pop art or impressionism, a graphic style like brutalism or minimalism, or an architectonic style such as futuristic or parametric, you can expect much better results if you include any of these words in your prompts. And why stop at just one style? Combine different styles from various fields to widen the range of possibilities and create something truly unique.
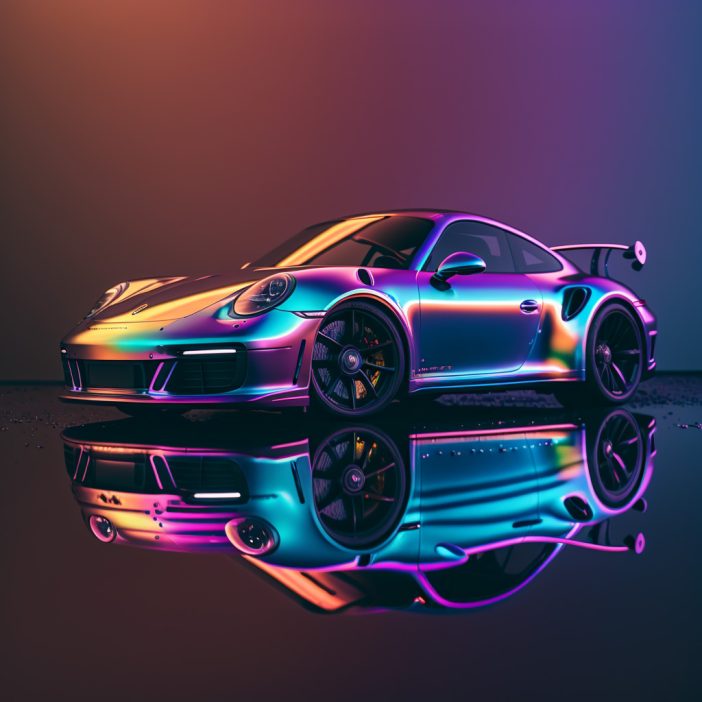
2. Compose your image using photographic wording
Defining the lighting type can help taking your creations to the next level:
- Time of the day (e.g., golden-hour) or weather (e.g., cloudy day)
- Natural vs artificial lighting
- Ambient vs practical lighting
- Studio lighting (e.g., soft lighting vs strobe lighting vs split lighting)
- Other features (e.g., accent lighting)
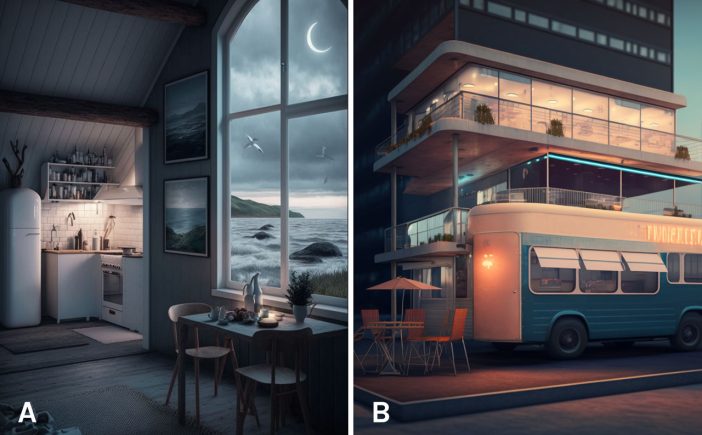
B) Retro food truck, very tall with several floors in empty parking slot with string lights, late afternoon. Dieter Rams
To achieve a more predictable outcome you may use these tricks to better design your composition:
- Define the aspect ratio by typing in –ar followed by the ratio you prefer
- Specify whether you want a wide or a close shot

Some additional parameters which have an impact depending on the context are the resolution (e.g., hd, 4k), effects (e.g. lens flares), and exposure (e.g. long-exposure or bright vs dark).
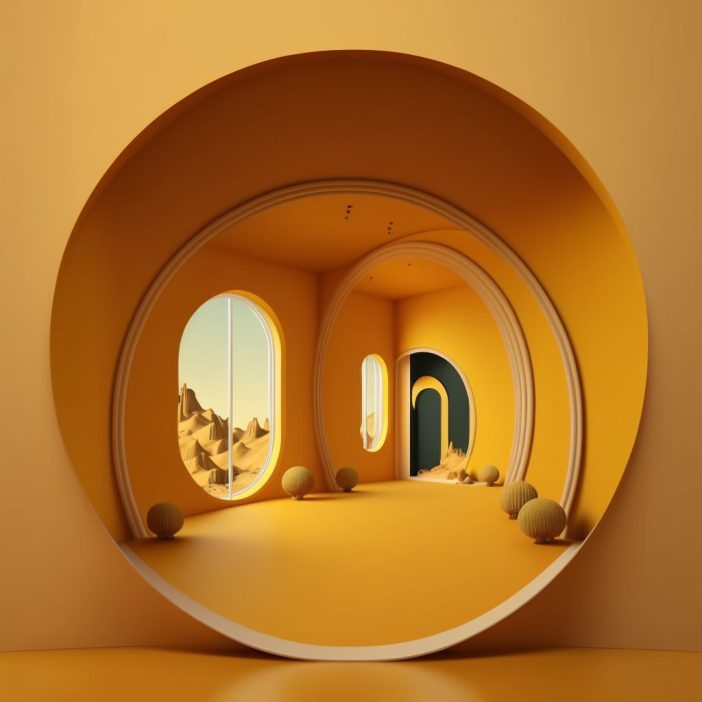
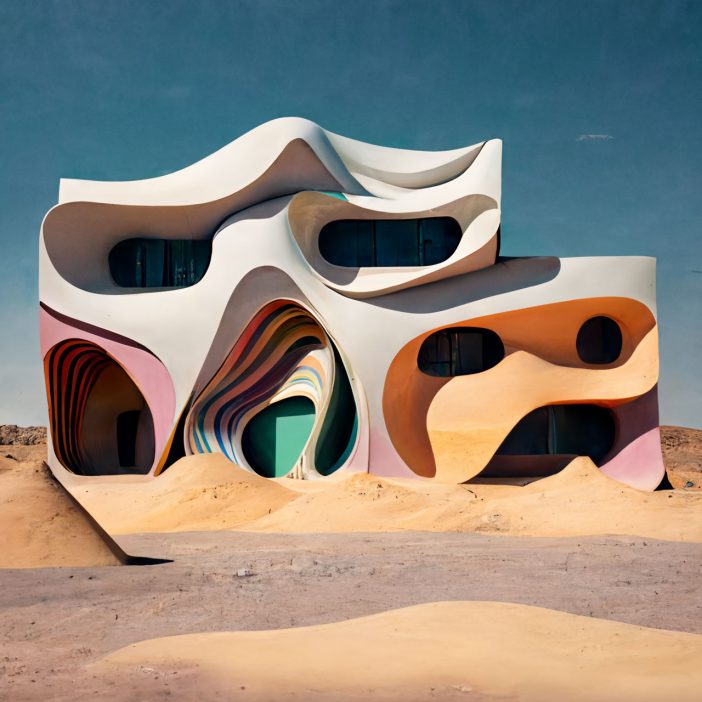
3. Define the artist who made the creation
Think about different industries or fields and combine them to create something novel. An example would be to imagine a modern interior designed by an installation artist (image below), or a product designer becoming an illustrator, just to name a few.
This document collects a very long list of artists that you can use for your prompts.
4. Include an image source
Including an image could save you a ton of time if you have an existing place or subject in mind. In fact, although Midjourney can make miracles, sometimes the process requires time. Uploading or linking images as a base for further prompting can make your process faster. Blending images doesn’t always give you amazing results, but it is worth trying. What I found more successful is using an image as the root of my prompt which I type just after it (see below).

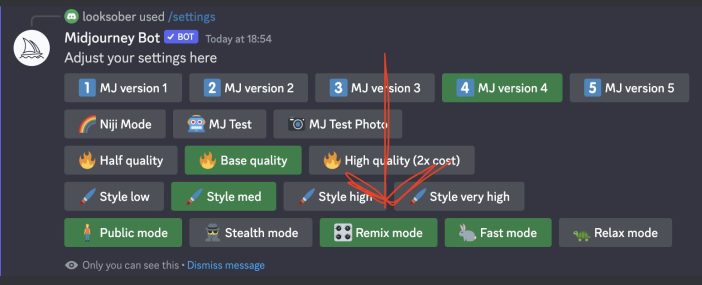
5. Remix the images
This trick is probably the most powerful, but it is not as straightforward as the other ones. In the message field of Discord you have to type in the following text: /settings. By selecting the settings a multiple-option UI (see image below) will appear and you have to activate the “Remix mode” by clicking on it.
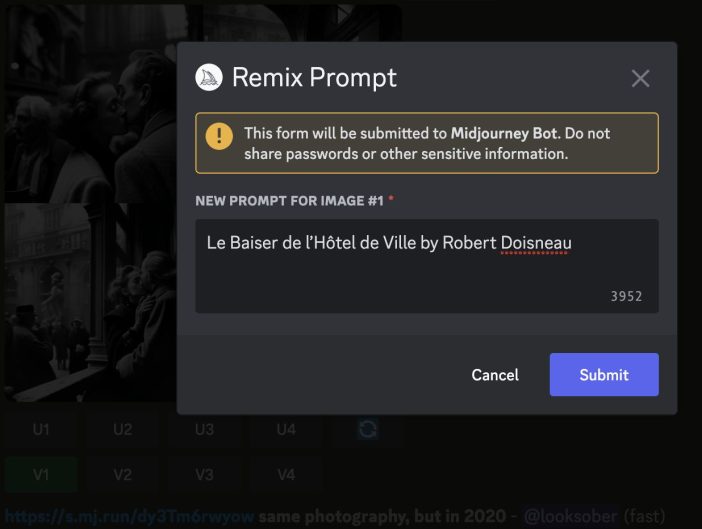
Once the remix mode is activated you can optimise your Midjourney images by making variations of your own results and typing in your adjustments (see image below).
Memorable results with your first prompt?
Obviously, you don’t have to use all the tricks at once. Besides the selection I proposed to you, there are many other parameters which I didn’t consider very impactful or useful for me, but you might find them beneficial. Regardless of the way you use my tips, you might get the best learnings by testing prompt after prompt. As a beginner, you can make your first tests using the ai image generator Midjourney trial which gives you 25 prompts for free. Here is the Youtube video for very beginners:
https://www.youtube.com/watch?v=zf4z8A-OWBY
Have fun with your Midjourney creations!
PS: If you think that I miss a super powerful trick, please share it in the comments!
Read more
6 hacks on how to use ChatGPT and Midjourney in UX design
Improve your UX design work with AI


Super helpful, thanks!
Nice, thank you!
This blog post included interesting details and helpful advice for me as a beginner. ?
Thank you Marija 🙂
nice tips thank you!
thank you 🙂
Hi Luca, your insights and tips are extremely helpful for anyone looking to enhance the visual appeal of their AI-generated images. I appreciate how you broke down complex concepts into easy-to-understand steps. Keep up the fantastic work!
Very interesting! thank you, Luca!
Thank you!
Thank you for your feedback Nissim! I will definitely publish more on text-to-image AI tools soon
I never used ai to create images, but reading this article I felt like trying it! Very powerful tools and clear explanation of their tricks.
Hey Marco, I am glad that you got inspired! Please try it and let me know if I forgot to mention anything important 🙂