As we all know, a marketing professional is faced with creative-related tasks nearly every day. Photography is one of the most essential components of any brand. When developing a personal or company brand, the marketing professional needs to have the skills to edit and create photographs to be able to use them in social media promotion, website development, presentations and other marketing materials. It is well known that mastering graphic editors often seem to be quite a daunting process for some people.
On 20 October 2020, Adobe has released a new update which includes a new filter pack within Photoshop – the most advanced filters based on artificial intelligence and neural networks. This filter pack makes it possible for anyone without technical skills to “turn dreams into reality”.
These are the top 4 neural filters that worth trying:
1. Skin Smoothing
This filter could be helpful to anyone, as it can be used for creating photos for your CV, social media management, and creating professional images among photographers.
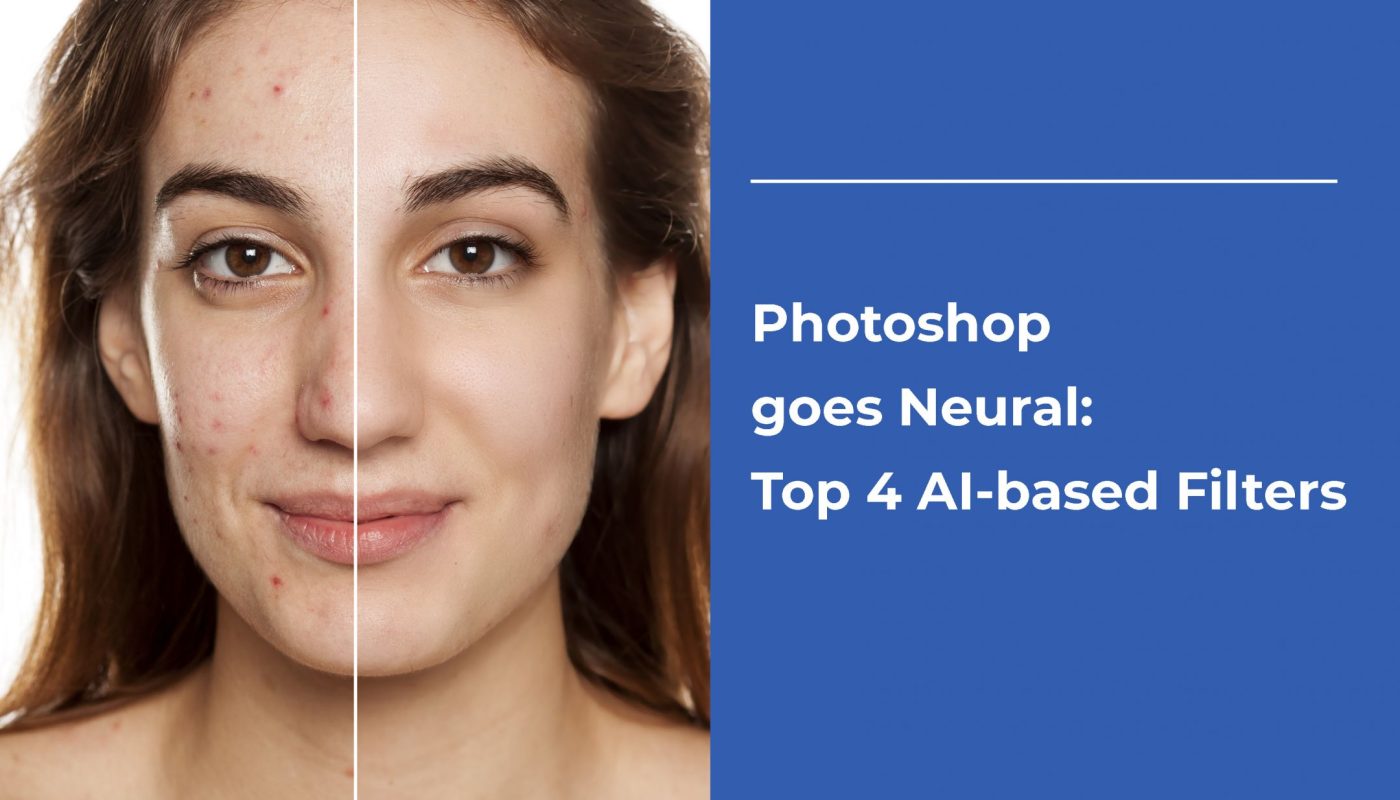
This filter allows you to remove imperfections on your face, achieving a ‘perfect skin’ effect. There are two options in the filter settings: Blur (max range: 100) & Smoothness (max range: 50).
Example: Skin Smoothing Filter
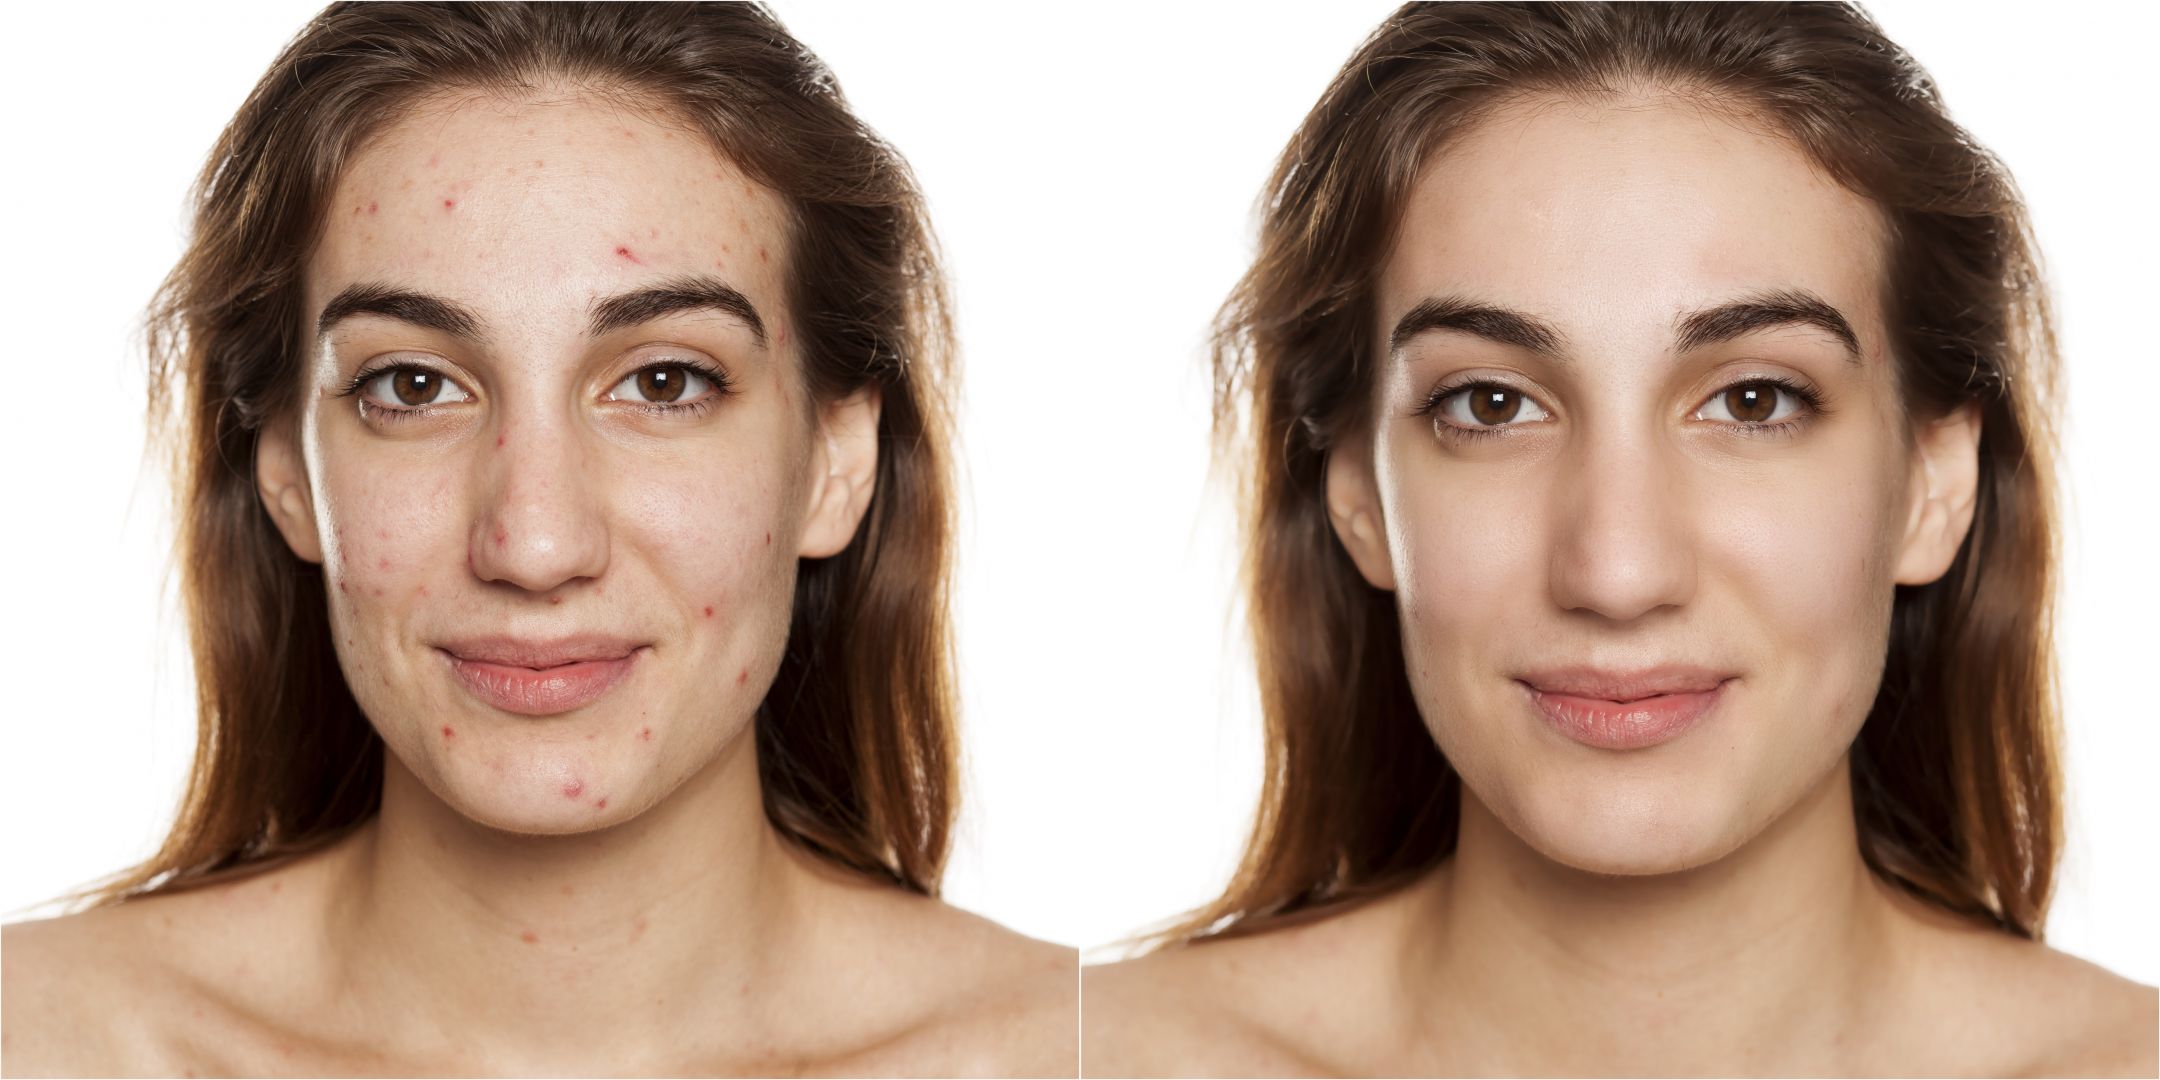
Left: Original | Right: Skin Smoothing Filter
Learn how to apply the Skin Smoothing filter with our Tutorial:
https://youtu.be/KCh9nvt3kiE
2. Style Transfer
This filter allows you to apply styles of artwork to your photo. There are currently 52 styles that you can use in this filter. Try it, you won’t regret it!
Example: Style Transfer Filter
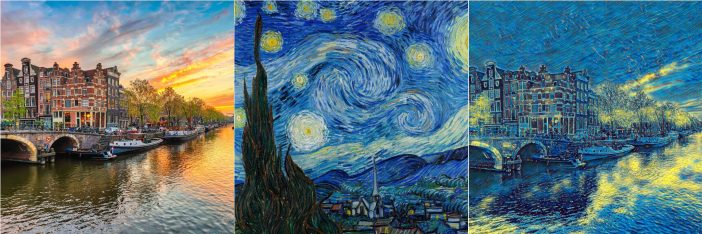
Left: Original | Center: Style “The Starry Night” | Right: Style Transfer Filter
3. Smart Portrait
Filters from this group are the most interesting because they allow you to change the emotions on a person’s face, change the direction of a person’s gaze, change the structure of a person’s hair, age, head direction, etc.
Example: Happiness Filter
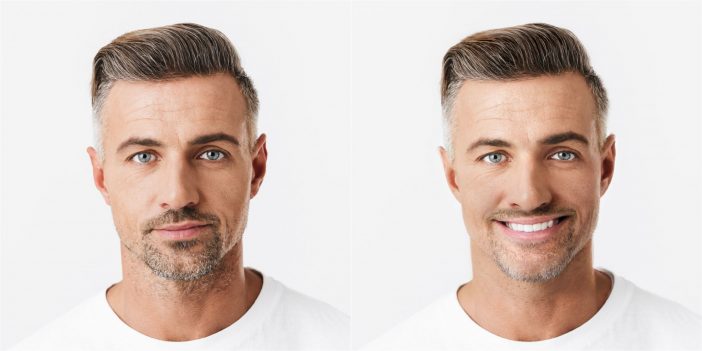
Left: Original | Right: Happiness Filter
Example: Facial Age Filter

Left: Facial Age Filter – Younger | Center: Original | Right: Facial Age Filter – Older
Example: Gaze Filter
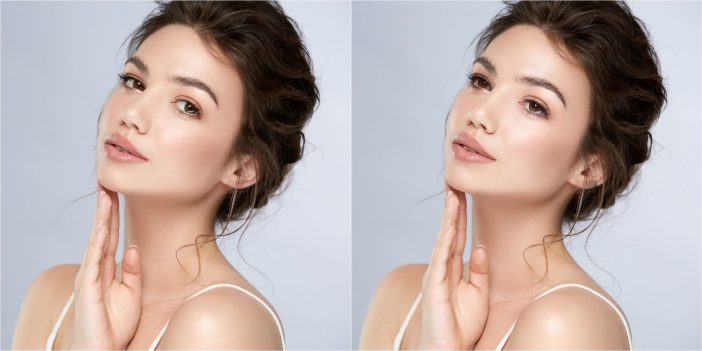
Left: Original | Right: Gaze Filter
4. Haze
This filter allows having the effect of fog without involving complex steps of photo editing.
Example: Haze Filter

Left: Original | Right: Haze Filter
Recommended Reference:
Learn to use Neural Filters in Photoshop: https://helpx.adobe.com/photoshop/using/neural-filters.html


This is so useful! It is easy to get lost in the functions of Photoshop, but your video provided very clear step-by-step instructions! Will definitely be in use. Looking forward to reading more.
Dear Sophia,
Thank you for the feedback! Happy to hear that you find it useful.
Best regards,
Ekaterina Barras
I love style transfer, will definitely try that one out! Thanks for teaching Ekaterina! 🙂
Dear Demet,
Thanks for the feedback! By the way, we are planning to have a tutorial on creating the business card in InDesign. Sounds interesting?
Best,
Ekaterina